Let's get straight to the point: Integrating Webflow with Google Analytics is essential for tracking all your traffic data. This integration becomes particularly important when you launch a website on Webflow. It ensures you capture vital initial data about user interactions, allowing you to make informed decisions right from the start.
In fact, this step is so important that we include it in our website launch checklist.
Implementing Google Analytics into your Webflow site can help unlock user insights, such as:
- Number of visitors
- Pages visited
- Time spent on site
- Traffic source
- Devices used
- And much much more.
In this article, we’ll dive into how. At Slam Media Lab (Slam), we’re an award-winning Webflow development and design agency. We’ve integrated Google Analytics to Webflow thousands of times. Based on our experience, we have narrowed it down to these 3 steps.
- Set up Google Analytics Account
- Connect Google Analytics to Webflow
- Test the connection
-
Set up Google Analytics Account
Before we can connect Google Analytics and Webflow, you’ll need to make sure you have created and configured your GA account. If you have not done that yet, head over to Google Analytics and follow the directions below.
“If you don’t have a Google account create one before proceeding to Google Analytics since you’ll need it to sign in.”
To create your Goole Analytics account, you’ll need to follow these steps:
- Create a new account: Once you're signed in, click on the "Start measuring" button to create a new account.
- Set up account details: Provide an account name representing the website or app you want to track. Choose between the options of tracking a website or an app.
- Configure property details: Enter the name of the website or app you're tracking and its URL. Select the industry category that best fits your website or app, and choose the reporting time zone.
- Choose data-sharing settings: Decide whether you want to share your data with Google to help improve their services, and set your sharing preferences accordingly.
After the initial account creation and setup is complete, we’ll need your Measurement ID to proceed with the Webflow integration.
How to Obtain Your Measurement ID
If you have completed your Google Analytics account setup, you have most likely already created a specific data stream for your website.
To obtain your Measurement ID:
- Click “Admin”
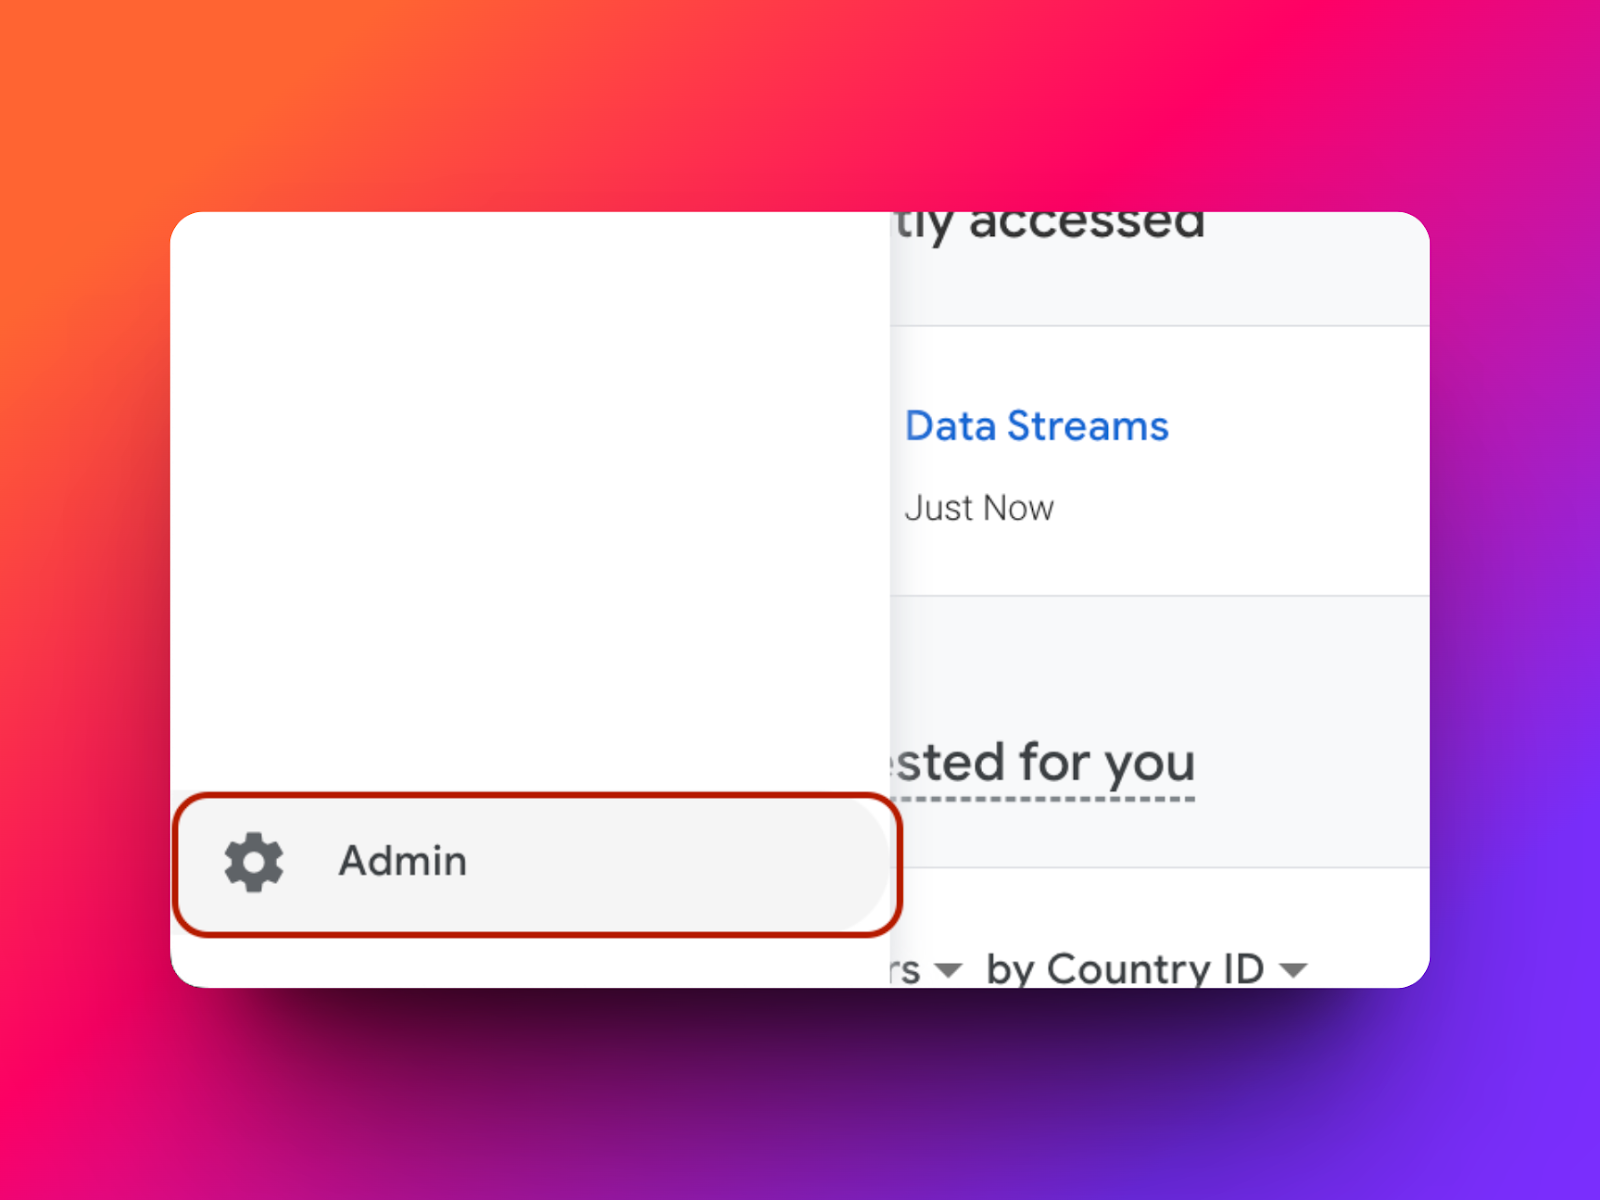
- Click “Data Streams”

- Click on the arrow to expand the “Data Stream”
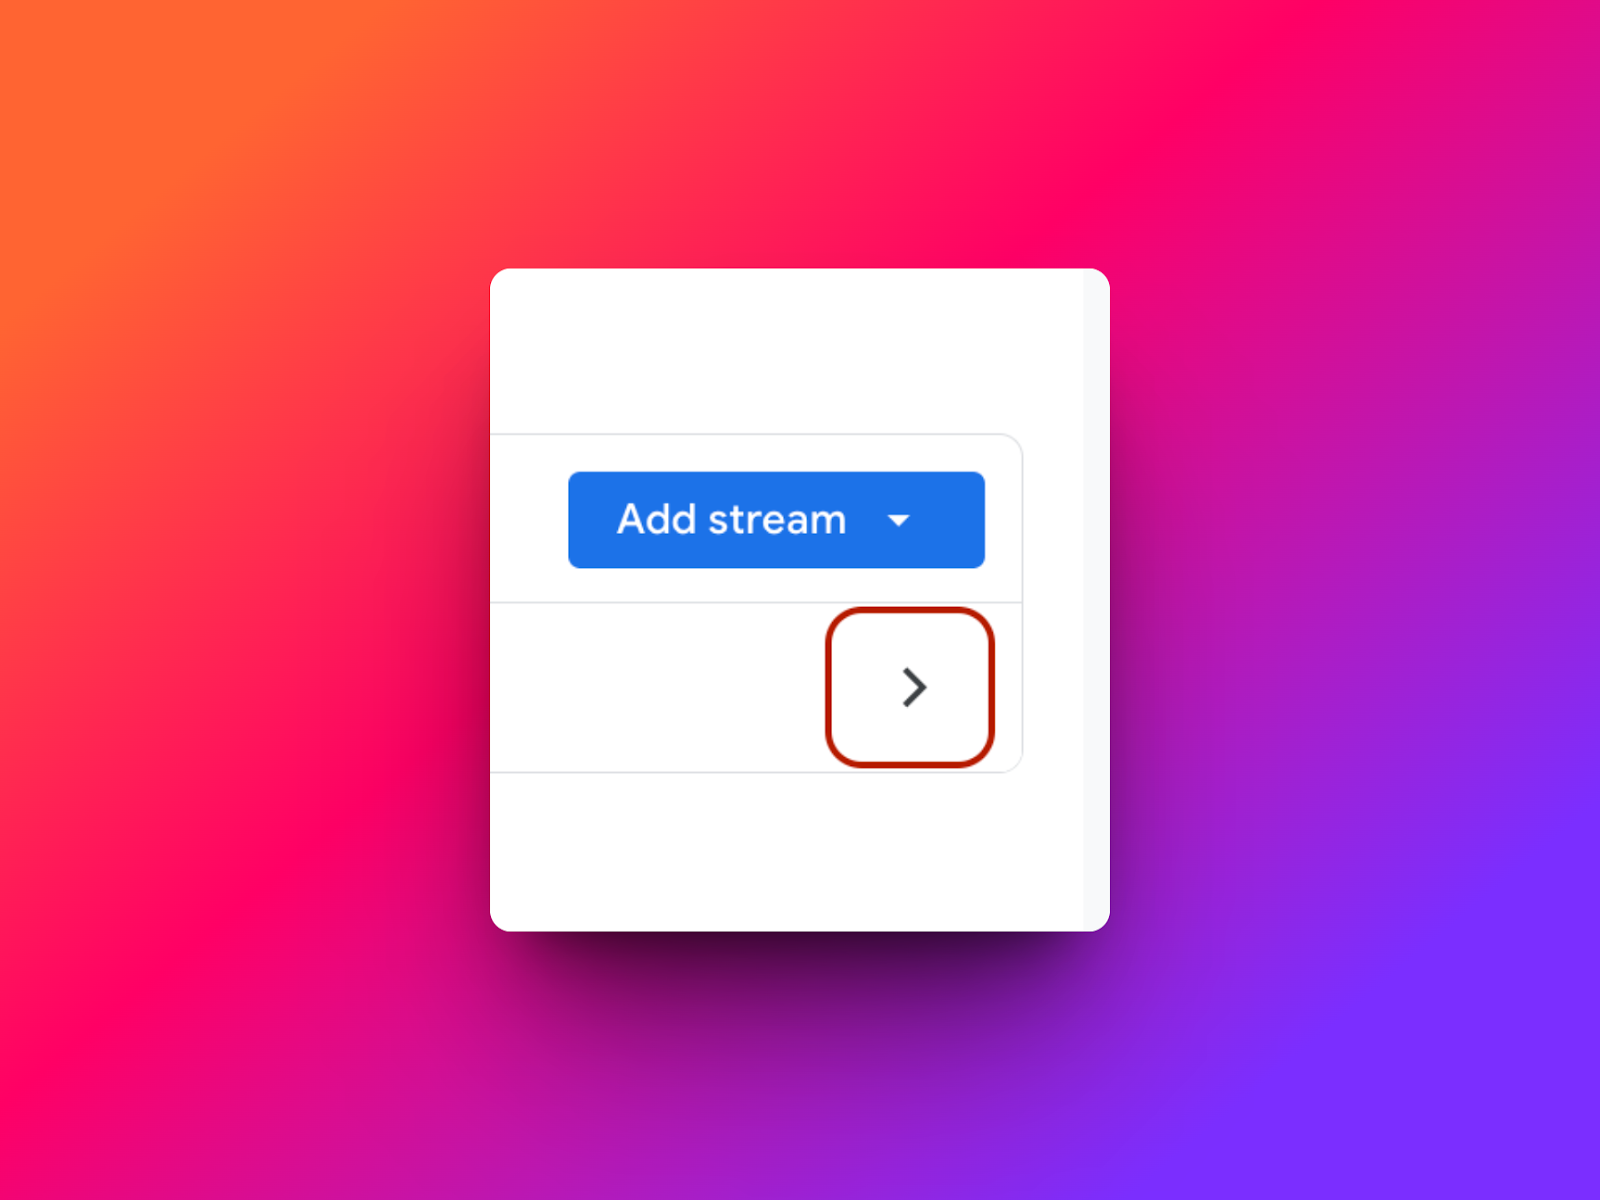
- Copy Measurement ID
Connect Google Analytics With Webflow
After you have successfully copied the Google Analytics Measurement ID/G-ID is finally time to make the connection with Webflow.
- Log in to your Webflow Account
- Navigate to “Settings” by clicking on the 3 dots found on your project thumbnail.
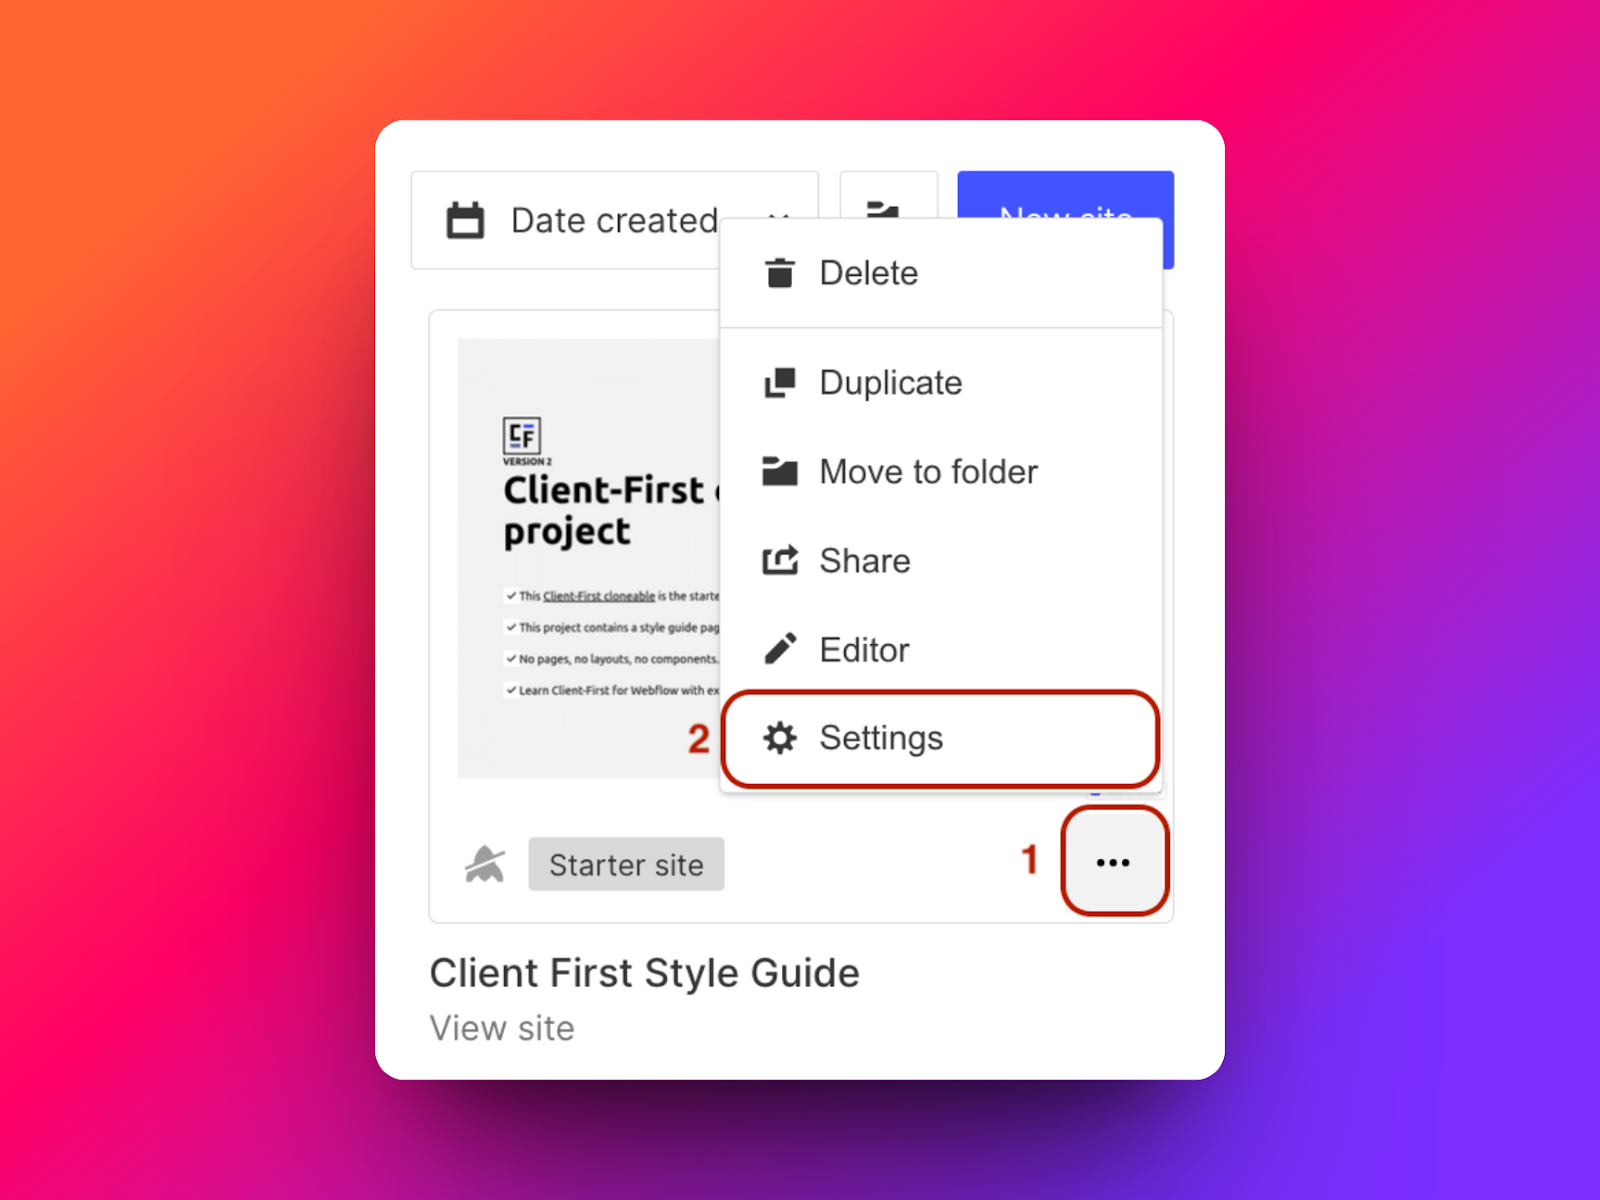
- Click on the Integrations tab
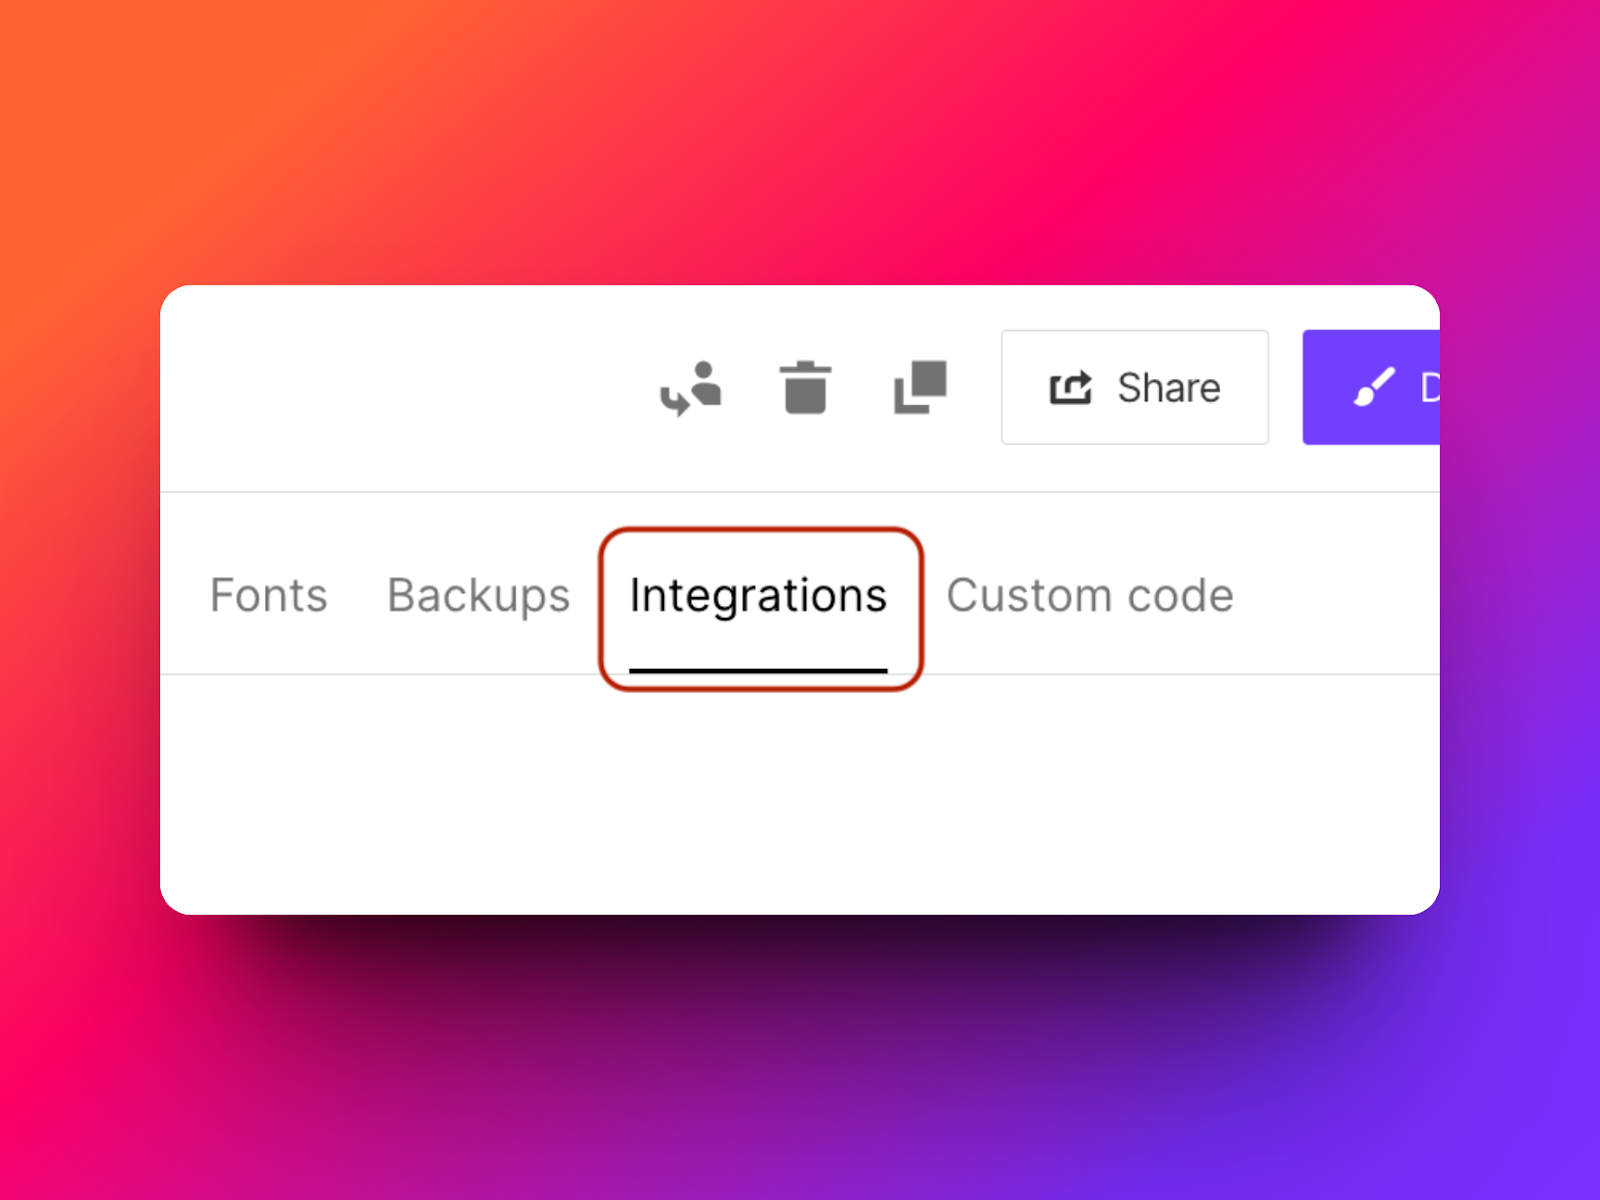
- Go to the Google Analytics section
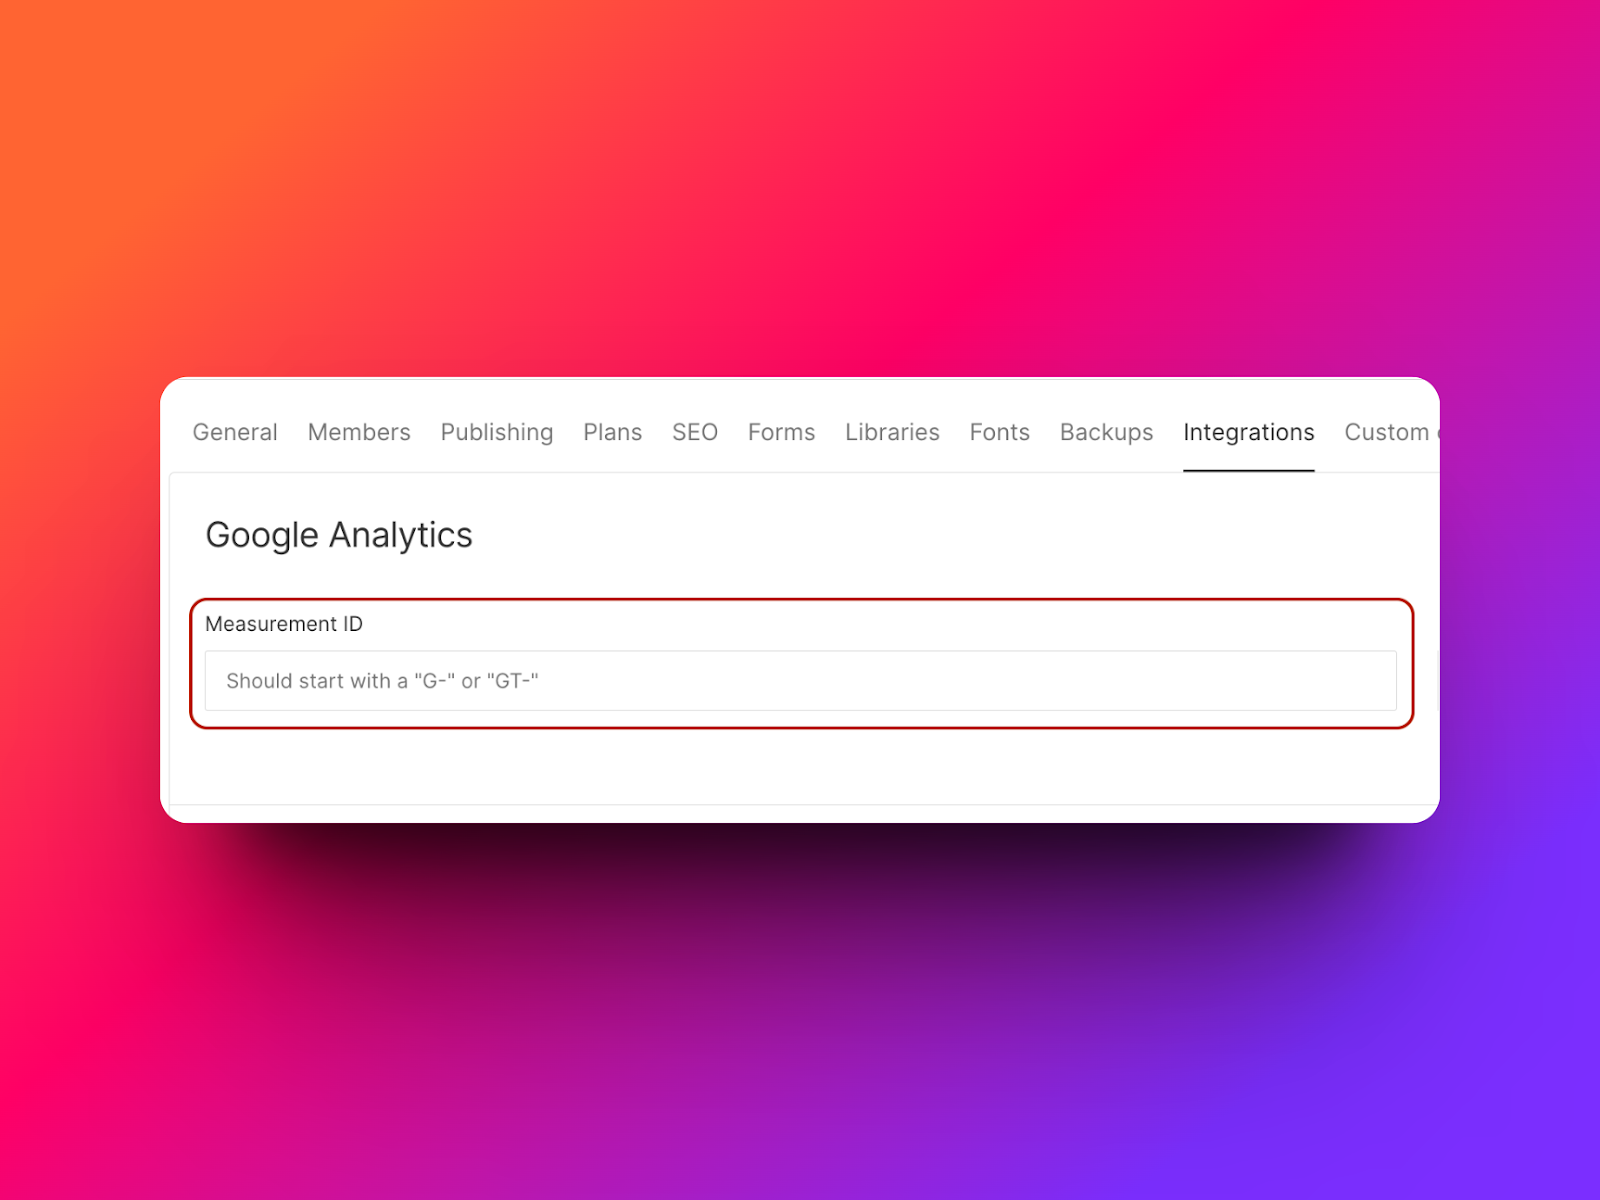
- Paste in your Measurement ID/G-ID
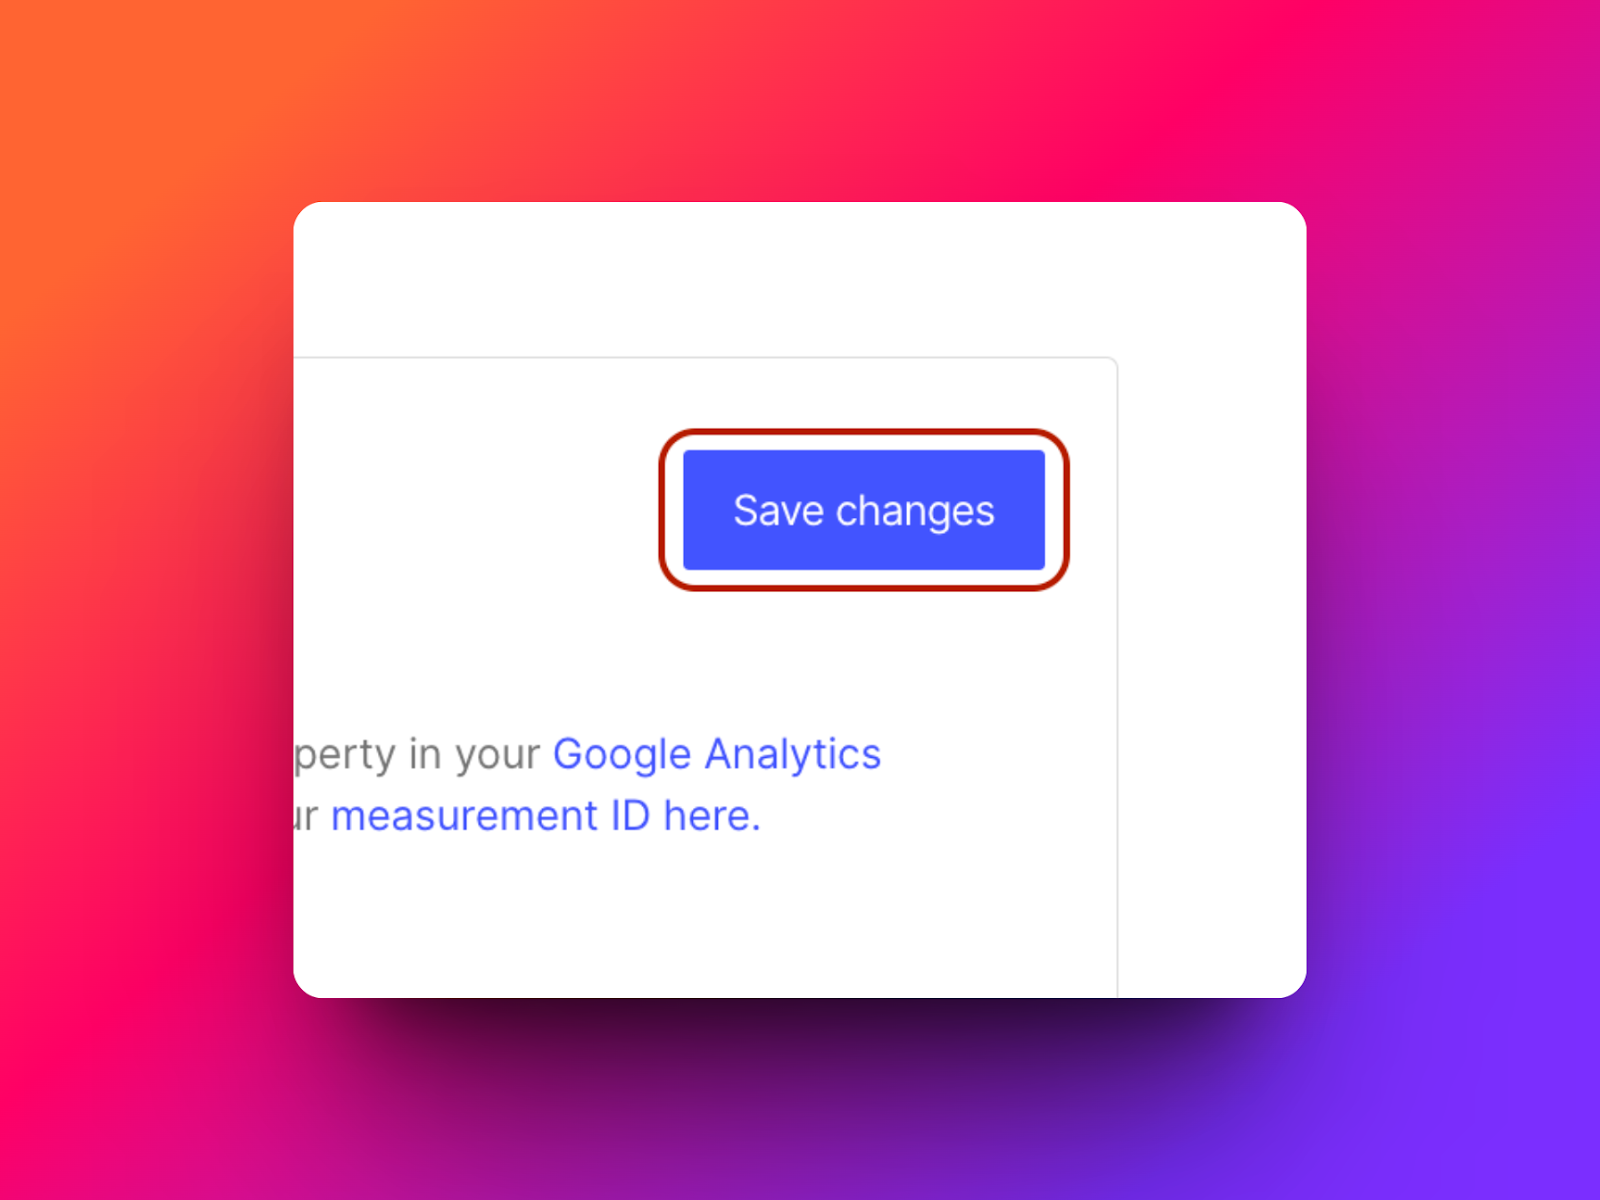
- Click “Save changes”
- Publish your site.

Test The Connection
Publishing your site will activate the connection with Google Analytics and you should be able to start seeing your site data in GA.
“It does take around 24 hours for the data to start trickling in so be patient and monitor your GA account.”
However, if you’re still not seeing any data and it’s been a few days, there are a few things you can do to troubleshoot your connection.
- Make sure you have the correct measurement ID.
- Use Google tag manager to troubleshoot and configure events.
- Access the “DebugView” in your Google Analytics account
- Use the “Google Analytics Debugger” and “Tag Assistant Companion” extensions
Bonus: Google Tag Manager & Webflow
If Google Analytics is just not enough and you need additional tracking options, setting up Google Tag Manager can help you track many more events happening on your website.
To get started with Google Tag Manager you’ll sign in using your existing Google account by going to https://tagmanager.google.com/. For more information on how to set up your Tag Manager visit Google Support.
After creating an account and a container for the domain you would like to set up tracking for you’ll need to integrate the Google Tag Manager code snippet in the <head> tag of your website.
There are a few easy steps that can help you get your GTM (Google Tag Manager) tag installed.
- Navigate to the Admin setting of your GTM account.
- Click on “Install Google Tag Manager” and copy the code.
- Navigate to the “Project Settings” of the Webflow project.
- Click on “Custom Code”
- Paste the code snippet in the section called “Head Code”
- Click Save.
By connecting your GTM account and Webflow via the code snippet, you’re now able to create tracking events directly in your GTM account and gain more detailed insights into your visitors' behavior.
What’s Next?
At Slam Media Lab, we’re aware that obtaining this data is just one step of the process. Actually using this data to make improvements to your site is what matters.
Gaining insights into your traffic sources, website search queries can help you shape and define your SEO strategy and generate even more traffic. Based on our experience at Slam, we’ve curated a list of SEO tools that can help you learn and improve your search marketing.


%20(1).png)


